AESTHETICA: deliberately dumb
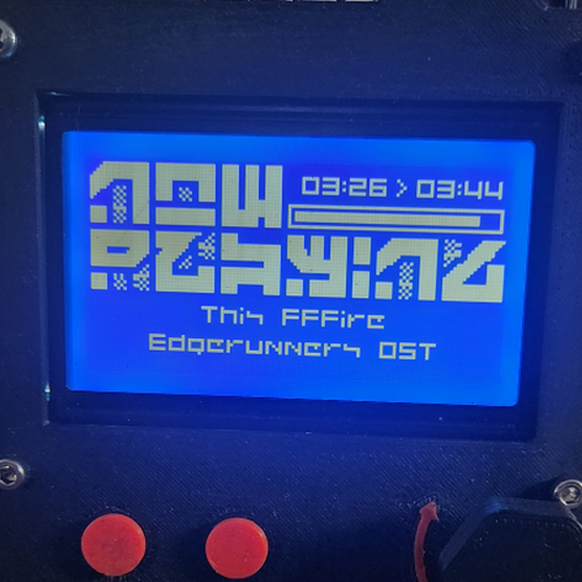
This was my first mp3 player build, and was made mostly from scavenged parts.
The display is a 3D Printer display, the speaker was swiped from a cheap BT speaker, and in general, the whole thing was designed to be very chunky.
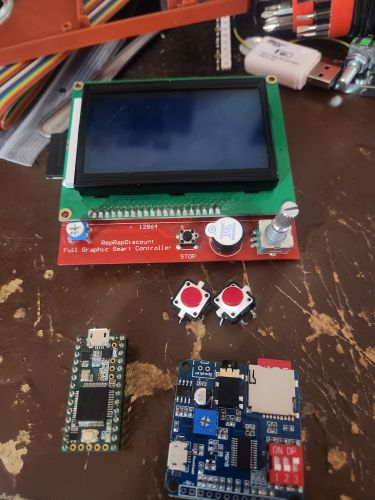
- RRW ‘Full Graphic Smart Controller’
- Teensy 3.2
- DY-SV5W MP3 Board
- 45mm Speaker
- 2 tactile switches
- 2x 8-led WS2812 boards
- microSD card
- SD card
One of the first hurdles was figuring out the pinout of the RRW controller. Not only does it have that 128x64 LCD, it also exposes an SD card, and a rotary encoder.
| EXP1 | |||
|---|---|---|---|
| BEEPER | 1 | 2 | BTN_ENC |
| LCDE | 3 | 4 | LCDRS |
| LCD4 | 5 | 6 | NC |
| NC | 7 | 8 | NC |
| GND | 9 | 10 | +5V |
| EXP2 | |||
|---|---|---|---|
| MISO | 1 | 2 | SCK |
| BTN_EN2 | 3 | 4 | SD_CSEL |
| BTN_EN1 | 5 | 6 | MOSI |
| SD_DET | 7 | 8 | KILL_BTN |
| GND | 9 | 10 | NC |
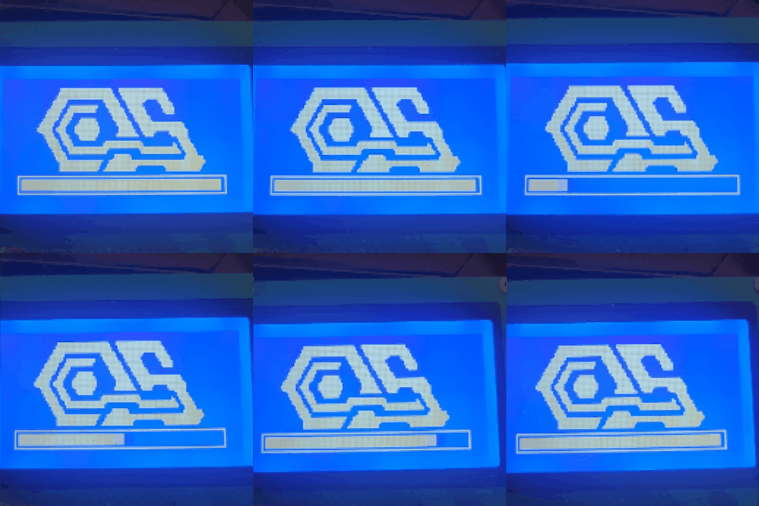
Next up was getting the DY-SV5W working. It’s a self-contained MP3 board, with a speaker amp and headphone output. It’s 5V tolerant, and has a microSD card slot. It’s actually a pretty solid little board, but it has one major issue for this project - it doesn’t have bi-directional communication with the Teensy. All it can do is tell the Teensy it’s currently playing.
It also doesn’t support long filenames, or id3 tags. Filenames are restricted to the old 8.3 style names, and for best results the files should be named sequentially. This is the only way to select specific files to play. And of course, an MP3 player is better when you know the song title, artist, and duration.
So using the fact that the RRW Display has an SD card slot, I put a text file on that card for the Teensy to read. Basically, I faked reading the MP3s. The Teensy would read that text file, that had the names, artists, and length stored, so it would calculate the time remaining display from that. Janky, but it worked!
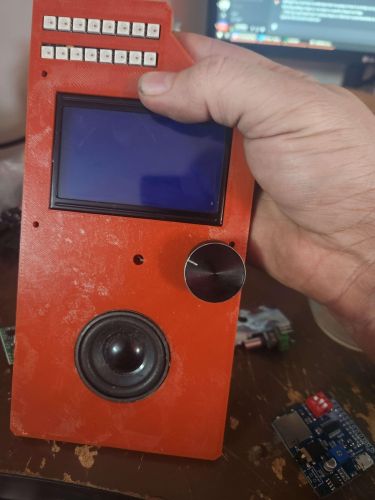
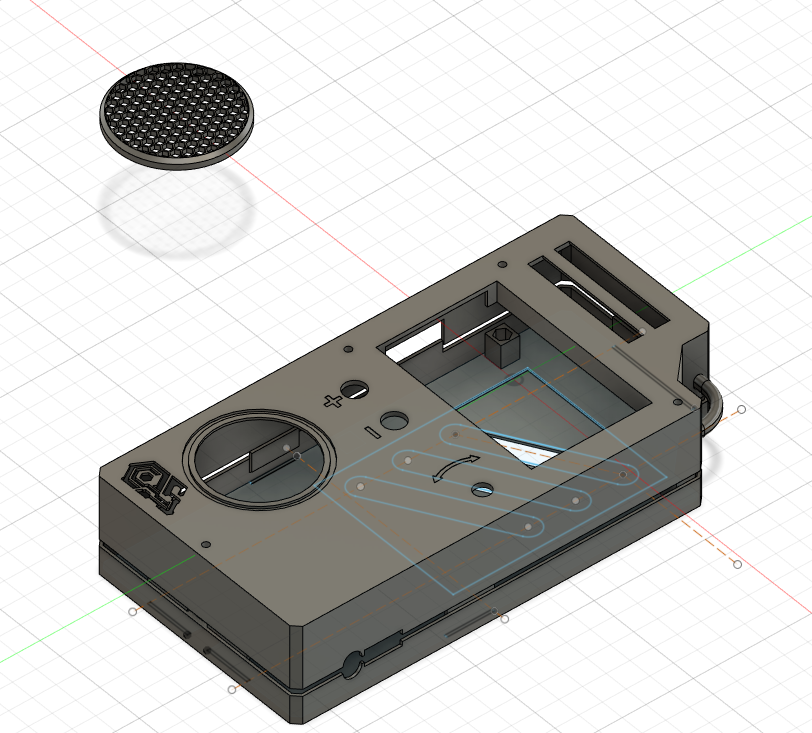
In the end, it turned out pretty good. It’s about the size of a VHS tape, runs off an external battery pack, and has a built-in loop for a belt clip.